Friday, June 28, 2013

Oaxacan Coyote, Stage 13 DONE!

To better match the white space I left over the back,
I decide to bump the portrait's ear out to the right.


Lower jaw almost done!
Stripes outlined on tail... getting closer and closer!


Ready to bust out the final layers on the tail.


The Oaxacan Coyote is officially DONE. Approximately 21 hours on 9" x 12" Stonehenge paper.

Oaxacan Coyote, Stage 12!

Time to define the area around the crescent moon!
Indigo Blue added to Non-Photo Blue scumbling layer.
To make this area more interesting, I add some swirls.
Jump to: foreleg patterns!
Impressed with one of my larger stylus points.

Progress pull-back.

Now, back to the forelegs!


Obligatory Shiny Shot™. :D
Back to the shoulder.

How should I tie in the rib area to the shoulder?


Dark Purple to the rescue!


Shoulder complete!

Throat on the portrait view finished!
Finishing layers begun on the Coyote's cheek and jaw.
True Blue, Indigo Blue, and Non-Photo Blue.
My workspace lighting: two OttLites and one regular lamp.

Oaxacan Coyote, Stages 10 & 11!

Stage 10

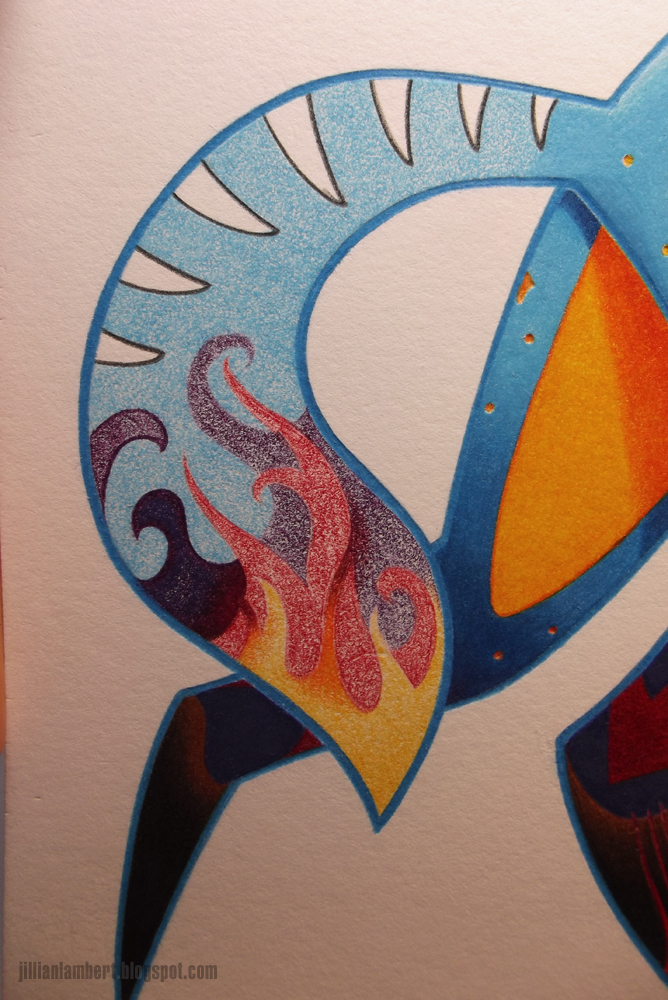
Polishing colors around the eye.


Comparison of finished coloring against scumbling only.
Rough scumbling layers added to muzzle.
With more scumbling, most of the white is eliminated.
Stage 11

Cleaning up the rib area.

Scumbling on rear hind leg. The surrounding blues are done.
I think scumbling may be one of my favorite artsy terms. It is a method of coloring using tightly controlled circular motions; it can be used with many types of media. By scumbling colors onto the paper, I am able to produce high saturation that covers all or most of the whiteness beneath.